
Project: Made by Hand - Rich Tucker
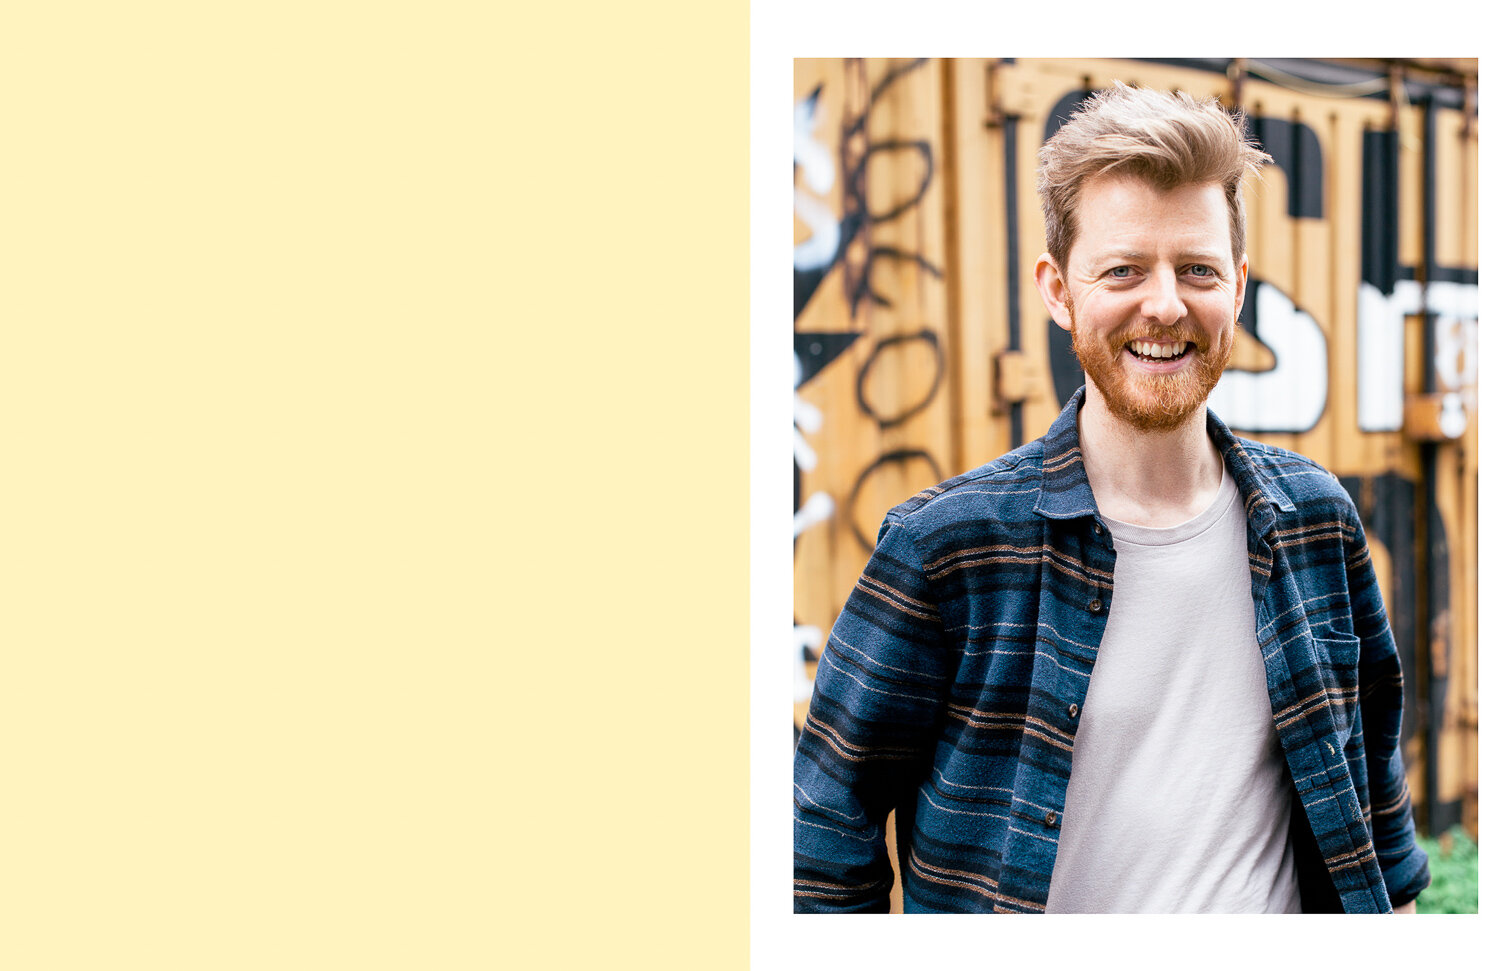
After teaming up with Sam and Damien at Ki Kefir, they kindly introduced me to their friend and graphic designer, Rich Tucker, AKA Ize London.
Working as a teacher and graphic designer during the week, Rich had taken a screen printing course at London Print Club a couple of months before I met him. After this, he immediately engrossed himself in the technical and creative side, I got in touch with him about the project, and spent an afternoon with him to learn about his craft, and to capture it taking place.
To produce beautiful screen prints, Rich starts by selecting a design he has created out of the studio, then goes to a print shop to have each colour in his artwork printed onto a sheet of thick assetate plastic backing. It’s these positives that allow him to separately create layers - like different parts of the design, and/or colour into the final prints.
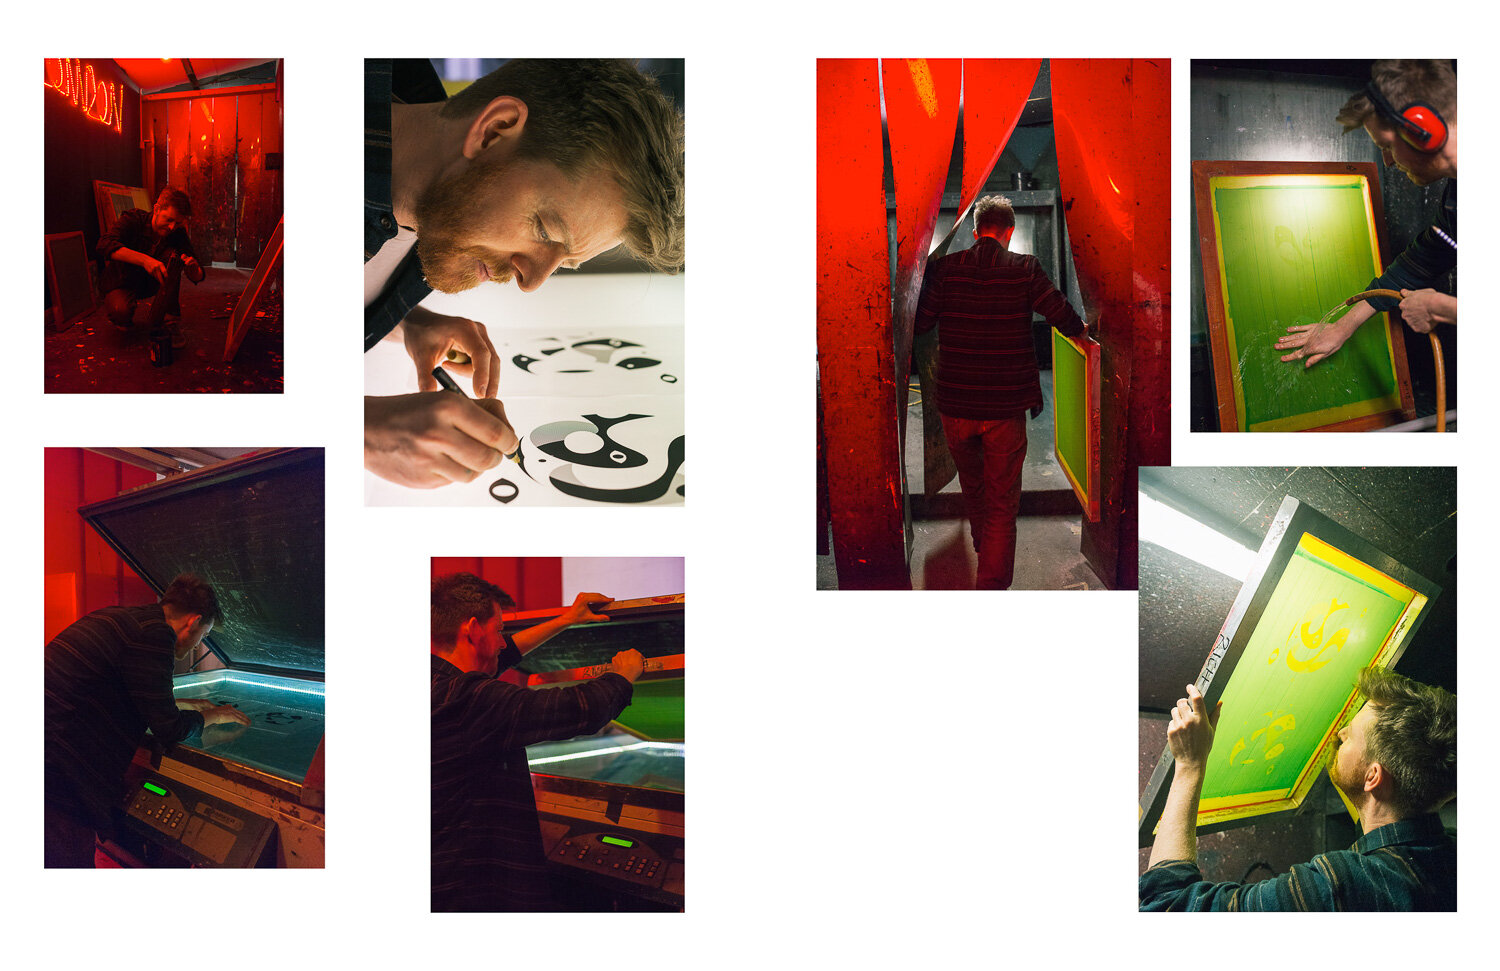
When we arrived at the sunny East London print studio, he started by pulling an un-used screen off of the racks to the side; making sure to check the screen for blockages and any remnants of left-over paint from its last use. Once the screen has been checked for this, it’s taken to a dark room (much the same as a photographic one), and Rich adds a thick coating of light-sensitive solution. From here - it’s popped into a drying cabinet until dry to the touch. Whilst this is happening, he puts the assetate positives onto a light-box to check for any holes in the print'; if there are any, he first outlines it with a gold pen, then puts a very small patch of tape over it, ahead of the next step.
Now that the screen is dry; it and the patched positives are taken over to a large exposure bed. This is used to copy the designs from the positives onto the screen for later printing. As Rich was uses a two-tone design, he very carefully placed both onto the exposure bed’s glass, before putting the screen on-top. Within 30 seconds, the positives are etched.
Rich has now whisked the screen from the bed into the washing room. Here he blasts away at both sides of the screen with a pressure washer and hosepipe. If done right, this removes all of the left over light-sensitive emulsion that isn’t etched as part of the design. He made it look super easy, but I could tell this was a bit of a risky step. Once done, it’s run over with a heat gun to make the whole screen bone dry.
After a quick re-check for any holes or gaps, the screen is taken over to the printing table where it is fixed in place; extra care is taken to make sure it’s in there square, and the right way up for the design (not back to front/upside down).
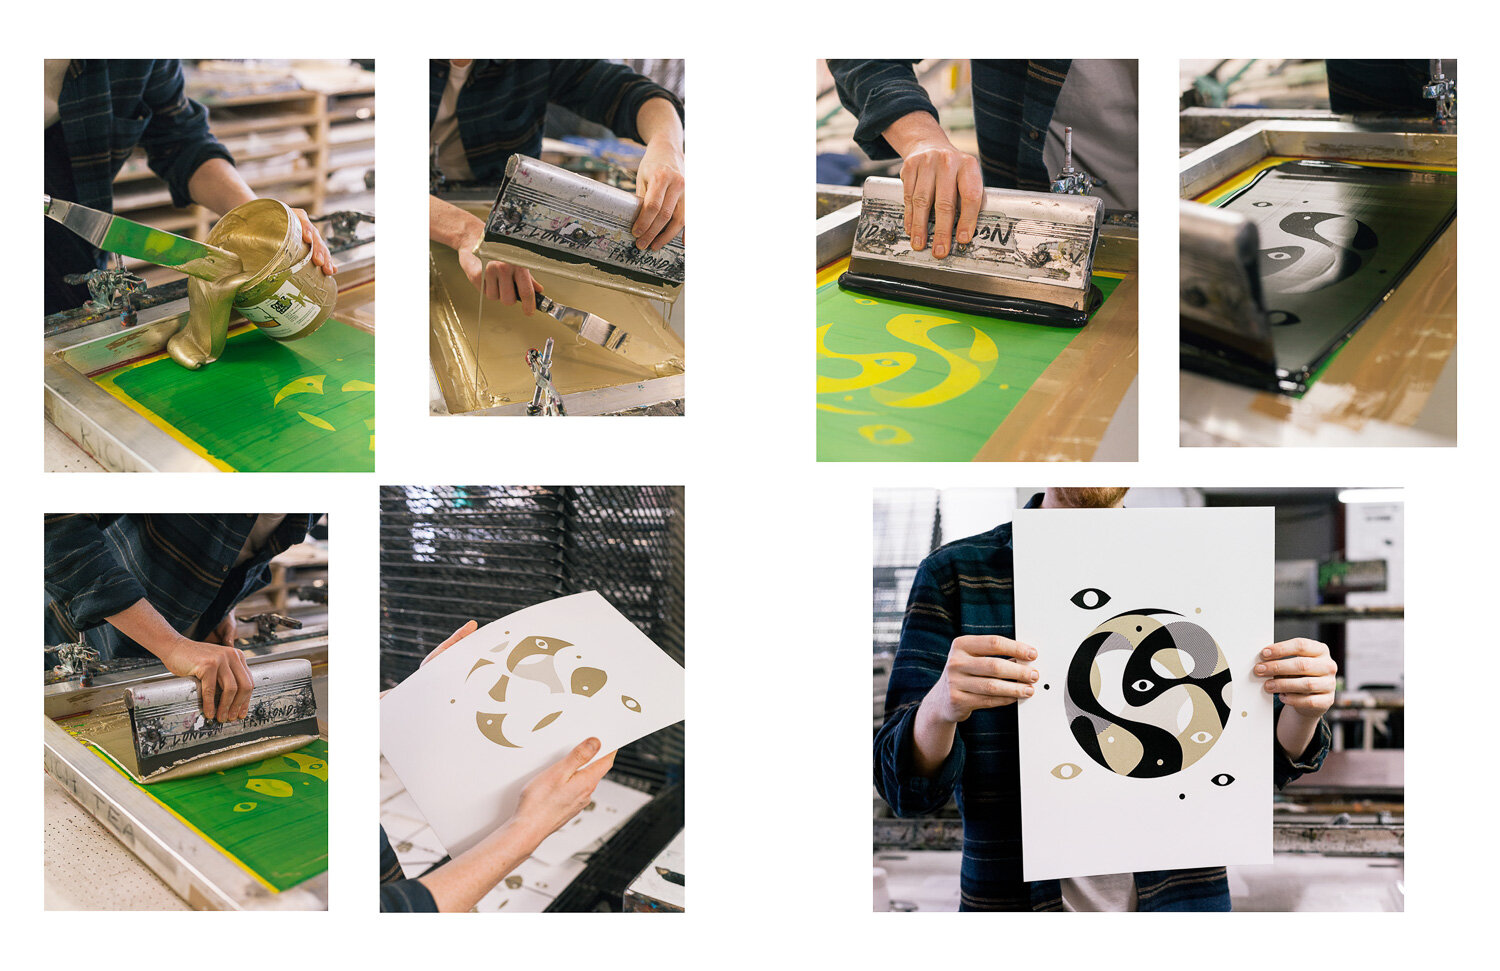
To print, Rich starts printing by aligning a sheet of cheaper test paper underneath the screen and marks its position with masking tape. During this step, the other design positive is covered up with paper and tape to protect it from getting any paint on it as well as stopping it from getting damaged. Once roughed out, he starts with his base colour of thick gold paint and pours it into the screen when it’s raised above the paper (not lowered for printing). Using a squeegee, he runs the paint over the currently used side of the screen, then lowers it down to the paper and in one firm motion, re-runs the squeegee up and down on the paper - showing the first generation print. After a few more rounds of letting more paint pass through the screen and aligning the paper to be square with the design, the drafting paper is switched out for high quality printing paper. With the rich first layer printed in gold, it and the other are placed into a drying rack whilst the next step it prepared.
To print other layers, the screen is rotated into the printing table and Rich starts again with aligning the paper properly to the design for the second layer of printing. A handy tip is to use the original assetate positive and to align it a sandwich between one of the first layer prints and the screen. This step can be repeated as many times as needed to created minimalistic, or complex designs.
Now set up, Rich repeats the steps to test alignment and then brings out one of the finished gold layers for printing with black paint. Once happy with the results, it’s placed onto the drying rack before signing.
My print from Rich has been lovingly framed and hung above my mantle at home. It was great to spend the day with him to learn more about screen printing and to nerd out over the processes that go into producing these lovely hand-made prints. Thanks again, Rich!